Desktop3D 2.0 Help
1. First launch of Desktop3D.
When you launch Desktop3D for the first time, Desktop3D will look approximately
so:
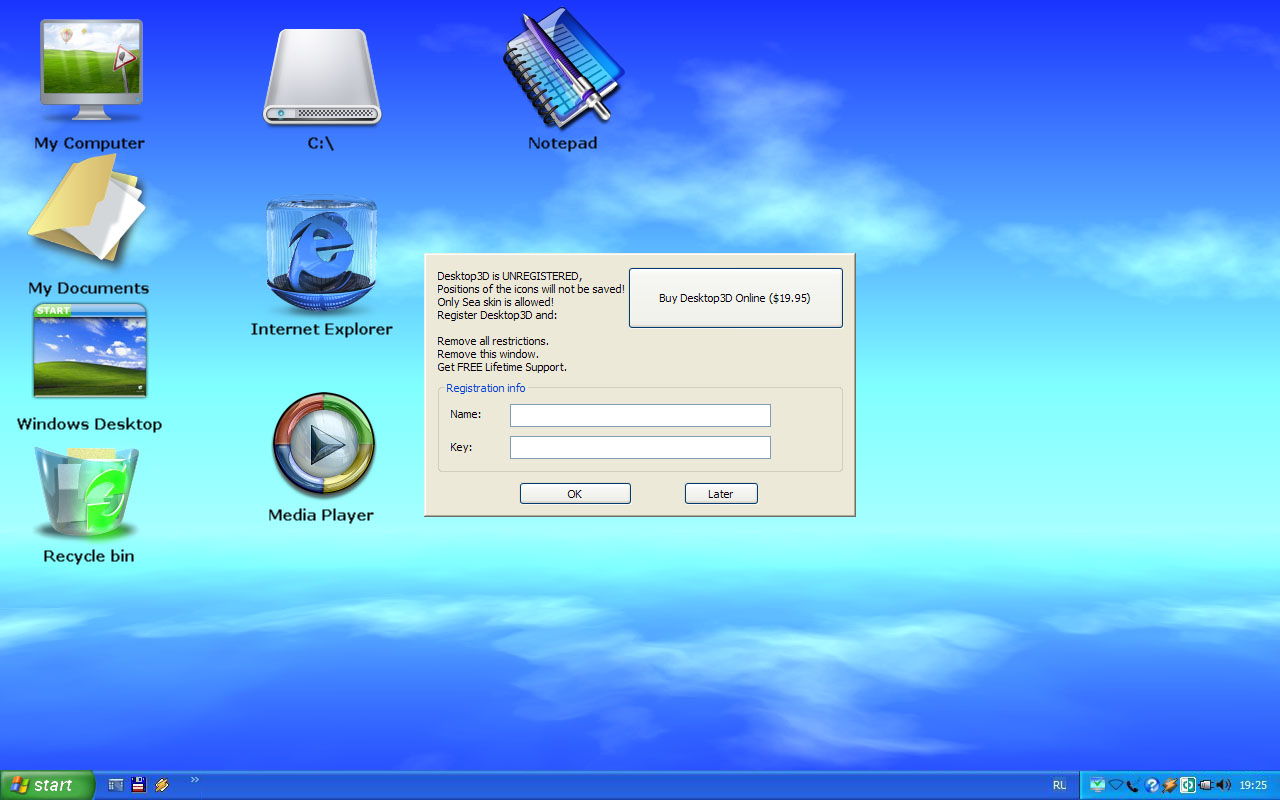
You can see a Standart Desktop3D Icons, there are: My Computer,
My Documents, Windows Desktop and Recycle bin and the sample icons for a some applications,
such as: Notepad, Windows Media Player...
The Windows Desktop is a shortcut to the Windows Desktop folder.
Also you can see the register window. This windows will not appear after registration
and entering of license code. Before buy you can press "later" button and try Desktop3D.
Now You can drag&drop
any file to Desktop3D. Simply press on a file, a folder or a drive and drag it on Desktop3D,and Desktop3D begins to display it!
2. Change a Icon
For change the image of a icon, press right - button of mouse on icon and select
"Change Icon" item in the context menu. In the opened window choose the
picture which has liked to you.
2. Change an icon size
For change the size of an icon press right - button of mouse on icon and select
"Icon size" item in the context menu, and select the size in opened submenu.
3. Context menu.
If you press right - mouse button on a place not borrowed by icons you
you will see context menu:
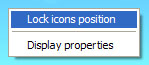
In this menu you can Lock icons position (all icons will remain on the positions) and open Display Properties. In the Display Properties window you can change a desktop color and this color will be used by "Desktop Color" skin.
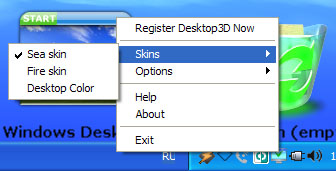
4. Traybar menu.
This is tray menu of Desktop3D.
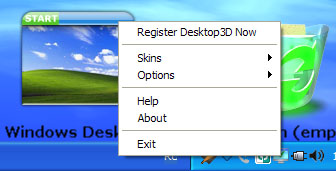
In the Skins menu you can change skin:
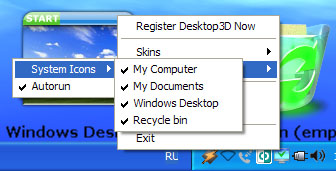
In the Options menu you can switch on/off Autorun (Desktop3D will be started with Windows). Also you can Hide or Unhide System icons: